There is a distinct satisfaction in baking a flawless tray of brownies, lemon bars, or multi-layered blondies. The top is perfectly set, the aroma fills your kitchen, and the texture is exactly what you aimed for. However, the final hurdle in the baking process is often where things go wrong: slicing the tray into neat, uniform squares.
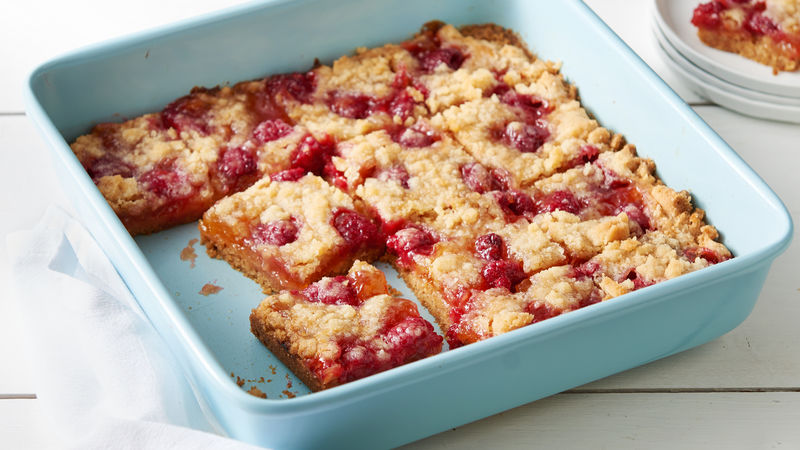
When you try to cut into a fresh tray of bars, you often end up with a messy, frustrating result. Fudgy brownies stick stubbily to the blade, tearing apart into ragged chunks. Delicate lemon bars smudge across your squares, and multi-layer bars separate entirely under the weight of the knife.
In professional pastry kitchens, presentation is just as important as flavor. Chefs don't use magic tools to get those razor-sharp, geometric edges; they use basic kitchen physics and a highly controlled cutting technique. By mastering the timing, temperature, and mechanics of slicing, you can transform your home-baked trays into clean, picture-perfect pastry displays.
The Physics of a Clean Cut
To understand why dessert bars tear or smudge when you slice them, you have to look at the relationship between texture, temperature, and surface friction.
When a cake or brownie is warm or sitting at room temperature, its structural fats (like butter and cocoa butter) are in a soft, liquid, or semi-solid state. Furthermore, the sugar content remains highly sticky.
As a metal knife presses down through a soft bar, the blade creates heavy lateral friction. The sticky starches and soft fats grab onto the sides of the metal blade. Instead of parting cleanly, the bar material is dragged downward by the knife, resulting in a crushed center, blurred layers, and a ragged edge covered in sticky crumbs.
Knife Selection: Choosing the Right Blade
Before you make your first slice, choose your cutting tool carefully. Different blade materials interact with sticky sugars in completely different ways:
| Knife Type | Cutting Efficiency | Why It Behaves This Way | Best Used For |
| Long Chef's Knife | Excellent | Heavy weight pushes through bars in one motion; smooth steel reduces friction when heated | Fudgy brownies, blondies, thick oat bars |
| Plastic Disposable Knife | Surprisingly High | The unique surface properties of polystyrene plastic naturally resist sticking to warm sugars | Room-temperature gooey brownies, marshmallow treats |
| Serrated Bread Knife | Poor (Avoid) | The sharp saw-teeth tear the delicate crumb apart, creating a massive wave of loose crumbs | Never use for soft bars (only for hard biscotti) |
| Thin Utility Knife | Moderate | Too short to slice the entire pan in one motion, leading to uneven jagged sawing marks | Small mini-pans or single-serving trims |
The Step-by-Step Precision Slicing Protocol
Achieving that pristine pastry-shop look requires you to manage the core temperature of your bars and clean your cutting tool systematically after every single slice.
Troubleshooting Messy Slices
If your cuts are still looking sloppy or uneven, look closely at the blade behavior to adjust your kitchen strategy:
Problem: Multi-Layer Bars (Like Millionaire Shortbread) Are Cracking Deeply
The Cause: The top chocolate glaze layer is too cold and hard relative to the soft caramel layer underneath. To fix this, pull the chilled bars out of the refrigerator and let them sit on your counter for 15 minutes to take the chill off the top glaze before slicing through with a hot knife.
Problem: The Knife is Dragging Filling from the Middle Layer Everywhere
The Cause: You forgot to wipe the blade completely clean between slices, or the filling layer is too soft. Make sure your knife is completely dry and hot before every cut. If the filling remains runny, return the block to the freezer for an extra 15 minutes to firm it up aggressively.
Problem: The Squares are Uneven and Different Sizes
The Cause: You are guessing the lines by eye. To get perfect squares, use a clean metal ruler to score tiny guide notches along the outer perimeter of the block before making your first cut. Connect the dots with your blade for perfectly uniform results.