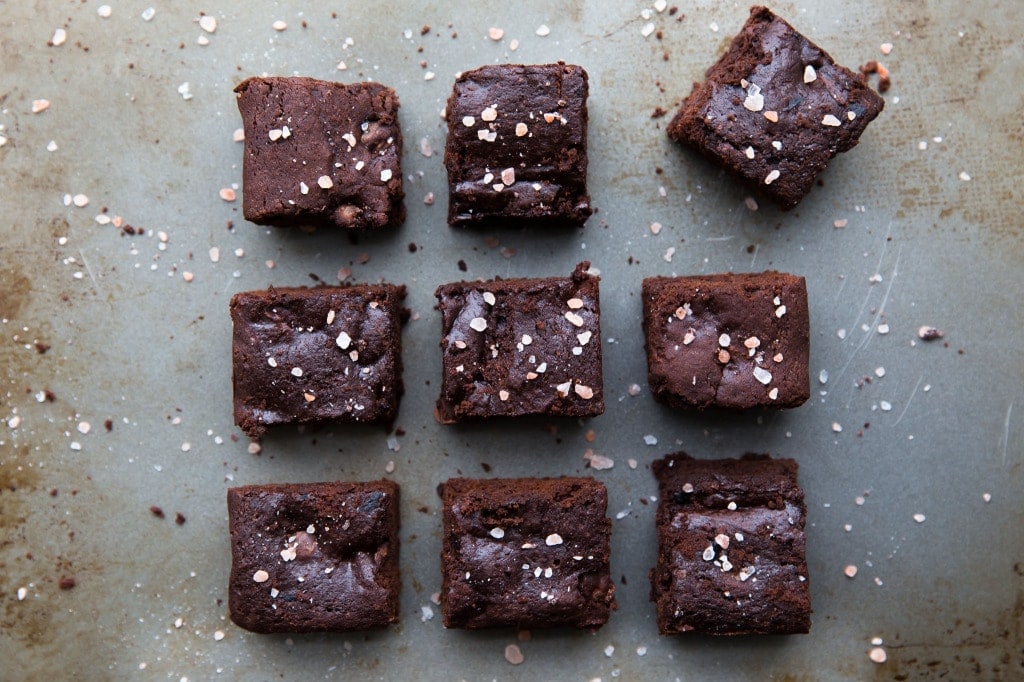
A bakery-style brownie must satisfy strict sensory criteria: it must possess an intensely deep, bittersweet cocoa profile, a dense, rich core, and a flawless, shiny crinkle crust that breaks cleanly when cut. Achieving this profile requires moving away from basic mixing habits and adopting a multi-phased thermal assembly strategy. This recipe eliminates standard mistakes—such as overworking gluten or under-dissolving sugars—by using precise mixing times and temperature thresholds. This guide walks you through the steps and ingredient weights required to bake a dark chocolate fudgy brownie using completely alcohol-free flavoring solutions.
Part 1: The Structural Formulary
- 200 grams Pure Unsalted Butter (Melted and held warm at 50°C)
- 240 grams Extra-Fine White Granulated Sugar
- 90 grams Dark Brown Molasses Sugar (Packed firmly)
- 3 Large Eggs (Must be brought to a room temperature of 21°C)
- 2 teaspoons Alcohol-Free Vanilla Flavoring (Vegetable glycerin base)
- 90 grams All-Purpose Flour (Protein content between 10% and 11%)
- 90 grams Premium Dutch-Processed Cocoa Powder (Alkalized for low acidity)
- 1/2 teaspoon Fine Sea Salt
- 150 grams Halal Semi-Sweet Dark Chocolate Blocks (60% cocoa, chopped into 1cm chunks)
Part 2: Step-by-Step Technical Instructions
Step 1: Thermal Initialization and Pan Preparation
Preheat your oven to exactly 175°C with the baking rack positioned in the absolute center. Line an 8x8-inch square metal baking pan with high-grade parchment paper, leaving a 2-inch overhang on the sides.
Pastry Chef Tip: Always use dull aluminum or metal pans for brownies. Glass or ceramic dishes retain heat unevenly, causing the outer edges of your brownies to overcook into dry cake before the center can bake through properly.
Step 2: The High-Velocity Dissolution Phase
In a large glass bowl, combine the 240g of white granulated sugar, 90g of dark brown sugar, and the 3 room-temperature eggs. Using an electric hand mixer set to high speed, beat the mixture continuously for exactly 4 full minutes. As you beat, the volume of the mixture will double, turning a very pale cream color with a thick, ribbon-like consistency. This extended whipping forces the water molecules inside the egg whites to completely dissolve the sugar crystals, guaranteeing your glossy crinkle top.
Step 3: Emulsifying the Warm Lipids
Reduce your mixer speed to low. Slowly stream the warm melted butter (50°C) and the 2 teaspoons of alcohol-free vanilla flavoring into the whipped egg mixture. Mix for only 30 seconds until the fats are completely emulsified into the sweet base. The warmth of the butter helps loosen the thick egg structure, preparing it to receive the dry ingredients smoothly.
Step 4: Sifting and Low-Gluten Incorporation
Place a fine-mesh sifter directly over your mixing bowl. Add the 90g of all-purpose flour, 90g of Dutch-processed cocoa powder, and the fine sea salt. Sift the dry ingredients to remove any dense cocoa clumps. Put away your electric mixer and pick up a silicone spatula. Fold the ingredients together by scraping the bottom of the bowl and flipping the batter over itself. Stop folding the absolute second the dry flour streaks vanish. Over-mixing at this stage develops a tough gluten network, turning your fudgy core into a rubbery texture.
Step 5: Distributing the Chocolate Chunks
Gently fold in the 150g of chopped dark chocolate chunks. The batter will be exceptionally thick, holding its shape like a heavy paste. Pour the mixture into your lined metal pan and use an offset spatula to smooth the surface into a flat, uniform layer.
Step 6: Baking and the Structural Doneness Test
Bake at 175°C for 22 to 25 minutes. At the 22-minute mark, perform the pastry toothpick test by inserting a wooden pick directly into the center of the pan. Unlike a cake, the toothpick should not come out completely clean. It should pull out with a few moist, sticky crumbs attached. If it reveals wet, liquid batter, bake for 2 more minutes. If it comes out dry, immediately remove the pan from the oven to prevent over-baking.
Step 7: The Cold Stabilization Cure
Let the brownie pan cool completely at room temperature on a wire rack for 48 minutes. Once cool, transfer the pan directly into the refrigerator for 1 hour. Chilling solidifies the melted fats and sets the fudgy center, allowing you to lift the block out using the parchment handles and slice it into clean squares without tearing the edges.